
Glass sliding door assembly: step-by-step explanation
Glass sliding door including installation? With Tuinmaximaal's user-friendly construction kits, you can easily assemble the sliding doors yourself. We help you with a step-by-step explanation of glass sliding door installation. And if you need help, our customer service is available to help you 365 days a year.

What do you need for assembly?
- Tape measure
- Cordless drill
- Impact drill
- Crosscut saw with fine-tooth saw blade
- Spirit level
- Rubber hammer
- Stepladder
- Silicone sealant
- Pincers
- Support for the glass panel / trestles
- Screws in 3 sizes (3 mm, 6 mm and 10 mm) and concrete screws (6 mm)
View the assembly instructions for glass sliding doors for a complete overview of the tools required.
Step 1: measuring glass sliding doors
The first step is to measure the glass sliding door. You determine the right size based on height and width. You do this as follows:
Height: measure from the bottom of the gutter to the top of the foundation column. This is the size of the glass sliding door including the bottom rail, top guide and glass profile.
Width: first measure how big the opening is in which you will place the glass sliding doors. Then choose the rail system that is larger than the measured opening and cut it to size yourself..
Do you have a Gumax® veranda? Then use the standard dimensions of the Gumax® glass sliding doors. That way, you have as little overlap between the glass panels as possible. If you do not want to use the full length of a rail, simply shorten it. Read more detailed information in the article on measuring a glass sliding door and download the measuring instructions for glass sliding doors (PDF). Using the correct width and height, you then order the right glass sliding doors.
Step 2: checking foundation for levelness
A good, level foundation is important before you start installing the glass sliding door. A solid foundation prevents subsidence and a level foundation prevents the panels from sliding by themselves. Provide yourself with a substrate that can withstand about 390 kg per linear metre. Or place foundation columns on which you place the bottom rail for the glass sliding doors. That way, you immediately have a strong, level surface for the glass sliding doors.


Step 3: cutting and fitting the bottom rail
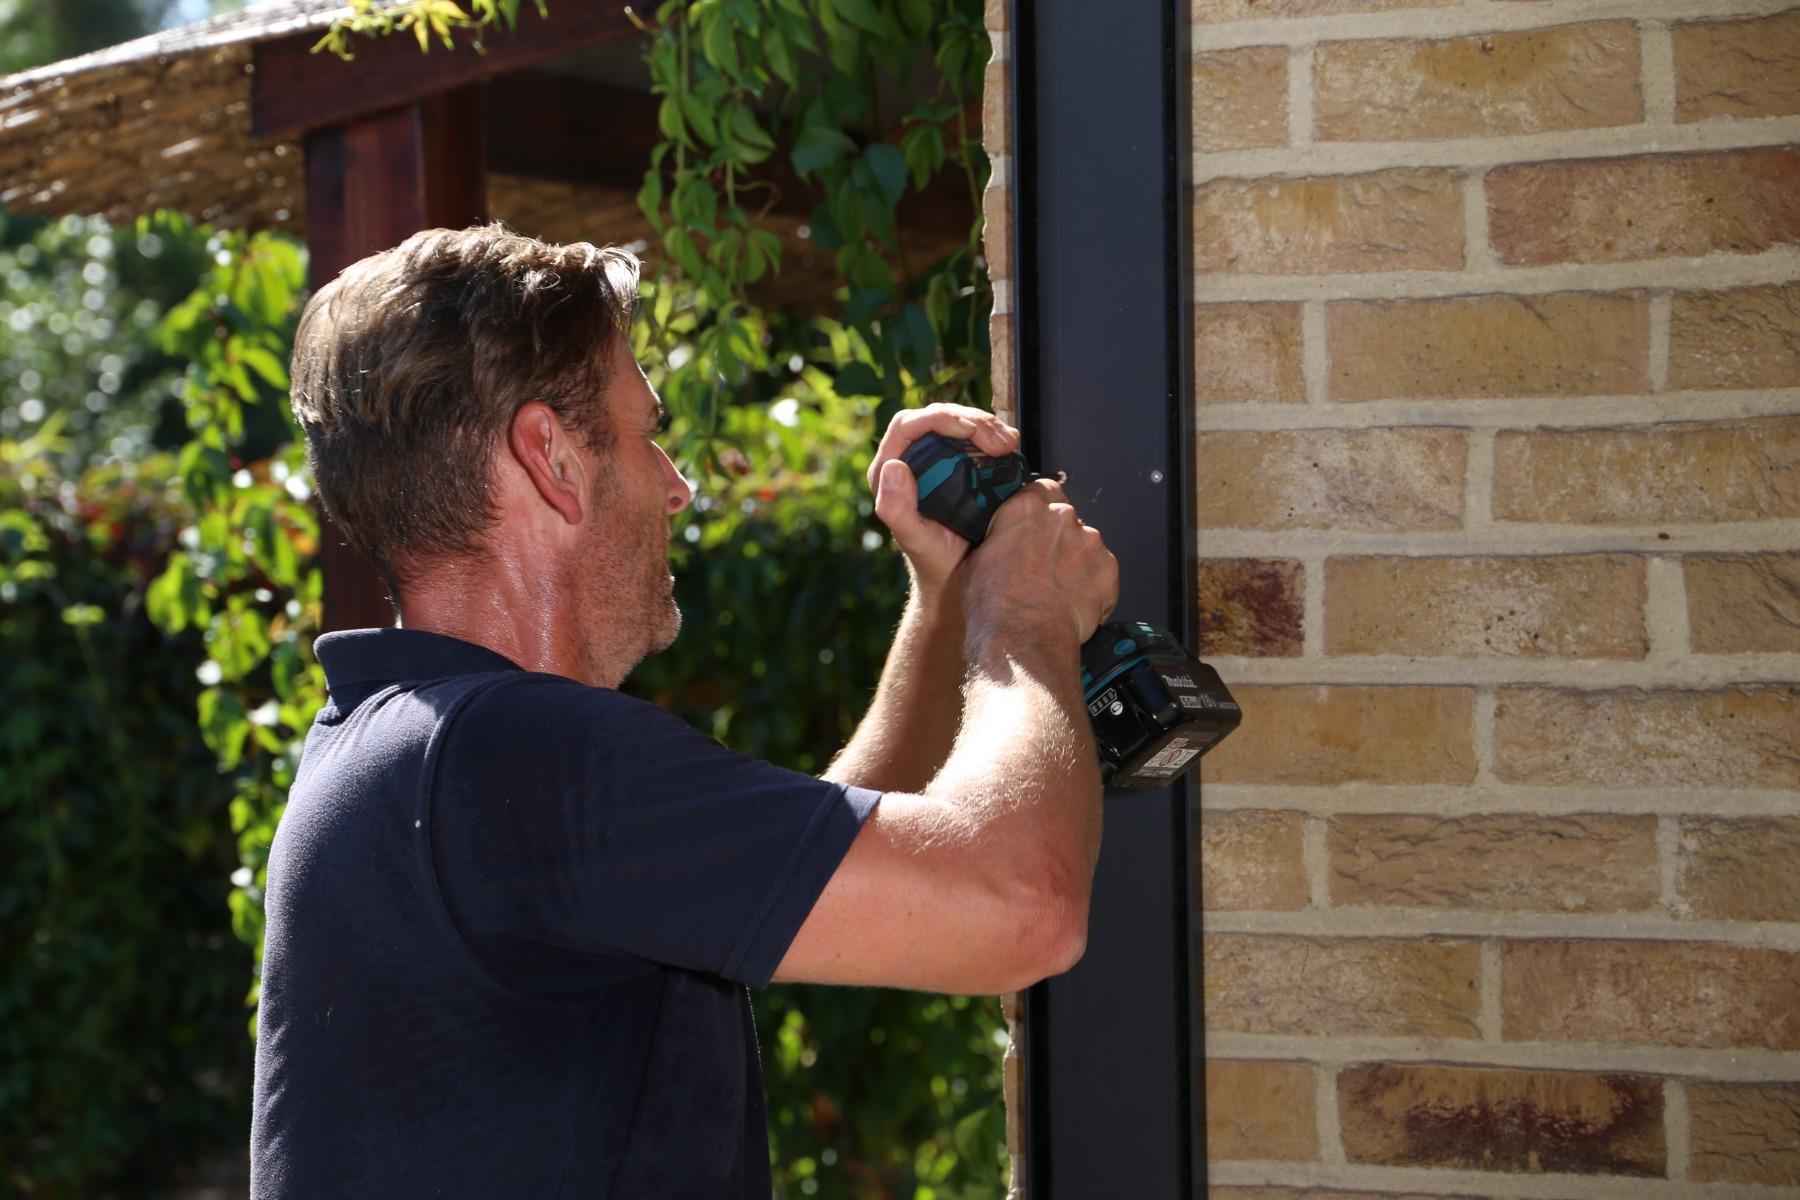
First measure how long the bottom rail should be. You then cut it precisely to size so that it sits neatly between the support structures. For shortening, use a crosscut saw with an adapted blade. Put the rails in place, making sure they are flush with the inside of the support structure. If necessary, clamp it before drilling. Drill the necessary holes and screw the rails to the substrate using plugs.
Step 4 (optional): Cutting U-profiles to size and assembling them
U-profiles minimise draughts and provide a neat finish on the side of the support structures or wall. Have you ordered these? Then cut them precisely to size from the bottom rail to the gutter. You then cut off the excess of the draught brush. Before mounting the U-profiles, drill the holes. Drill 4 3-mm holes in the grooves at 10 centimetres from the bottom, connecting them at 70 centimetres and 80 centimetres and finally at 10 centimetres from the top (see illustration).
Then make sure the profile is perpendicular to the right place and fits well at the top and bottom. Clamp it before installing if necessary and then start screwing it in place using a drill and the screws provided.


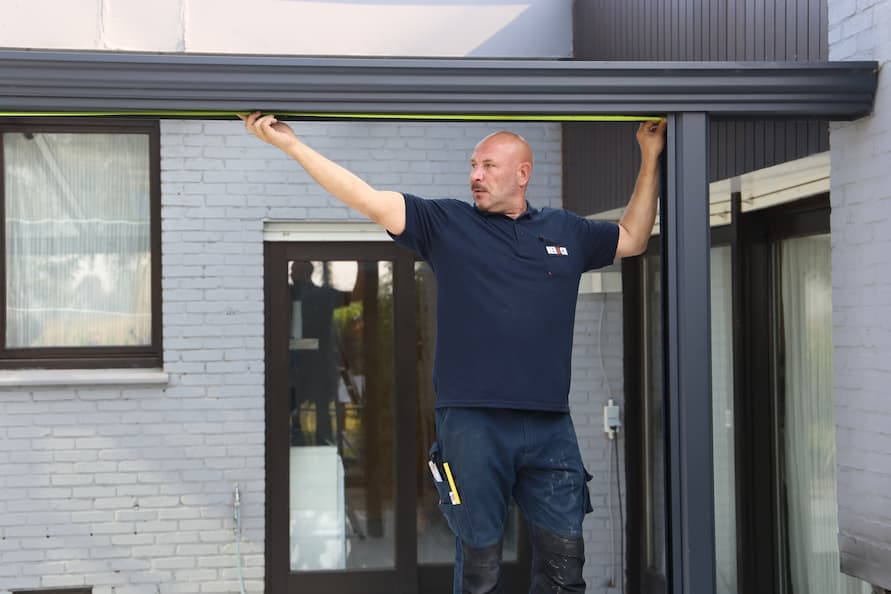
Step 5: cutting the top guide to size and assembling it
After installing the U-profiles (optional), measure the size of the top guide. When using U-profiles, shorten the top guides by about 15 mm. If you do not have U-profiles, the top guides are already made to measure. Position the guide and clamp it in place for now using the pre-drilled holes. Insert self-drilling screws in these. Then seal the screws in the gutter with a silicone sealant.

Step 6: preparing and installing glass panels
At the bottom of the glass panel comes a rubber strip, which you cut to size. The strip contains a slot into which you insert the rolling elements, allowing the glass sliding doors to slide easily. Fix the strip in place at the bottom of the glass panel and tap it extra tight with a rubber mallet. The glass panel is heavy, so ask for extra help and use glass carriers for lifting the panels. Place the sliding doors in the rails and attach the door stoppers at the top of the inside of the support structures.

Step 7 (optional): installing weather strips, decorative strips and handles
Expand the sliding door as you wish with weather strips, decorative strips and/or handles for a stylish and functional finish to the sides of the panels. Simply cut the weather strips and decorative strips to size and tap them into place with a rubber mallet. If you install handles, cut the decorative strips to the desired height of the handle. Above that, place the handle and finish the rest with the decorative strip. Attach the handles using the glue provided, which you should let dry before using the handle.
Installing glass sliding door on the side including glass wedge
Would you like to install sliding doors on the side(s) of the veranda? This is only possible if you install a glass wedge first. This ensures that the clearance height at the sides is the same as the height of the bottom of the gutter. Please refer to the assembly instructions for the Gumax® glass wedge for the required tools and steps for assembly.
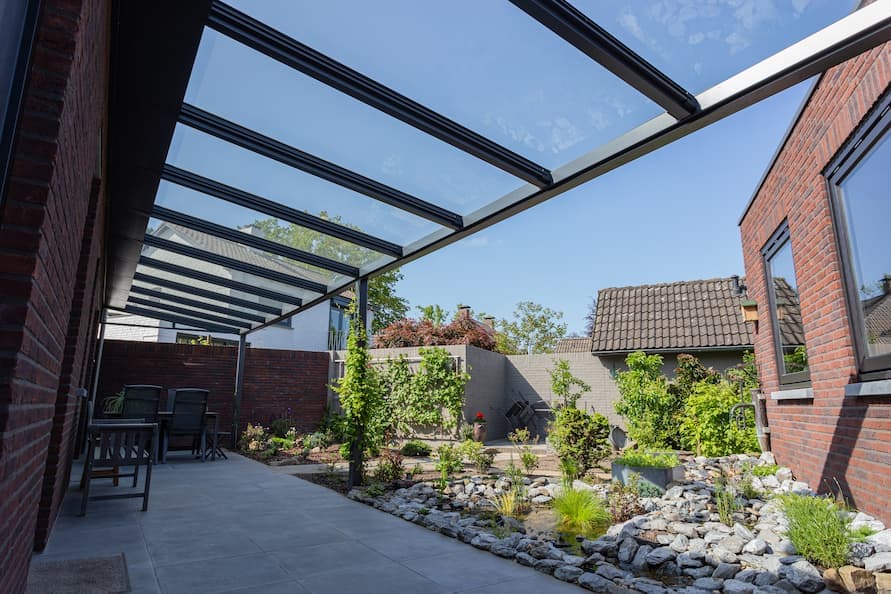
Installing glass sliding door under Gumax® veranda
This video covers all the steps for measuring and assembling the glass sliding door under a Gumax® veranda.
Installing glass sliding door under an existing veranda
Would you like to install the sliding doors under an extension or summerhouse? That is also possible. See the instruction video for this. Glass sliding door ceiling mounting is only possible if the height is equal to the available sliding doors.
Assembly instructions glass sliding door
We supply the glass sliding doors in a user-friendly kit, including assembly instructions. If you follow the steps in these assembly instructions, you will retain the 5-year manufacturer's warranty.

Would you like to know more?
- Consult the frequently asked questions
- View the expansions and accessories
- Contact our customer service 365 days per year
- Discover the downloads and tools
More shade and privacy?
Want more shade and privacy under your veranda? Then combine the glass sliding doors with Gumax® Shading Panels. These are panels with slats that you easily slide via the rail system.