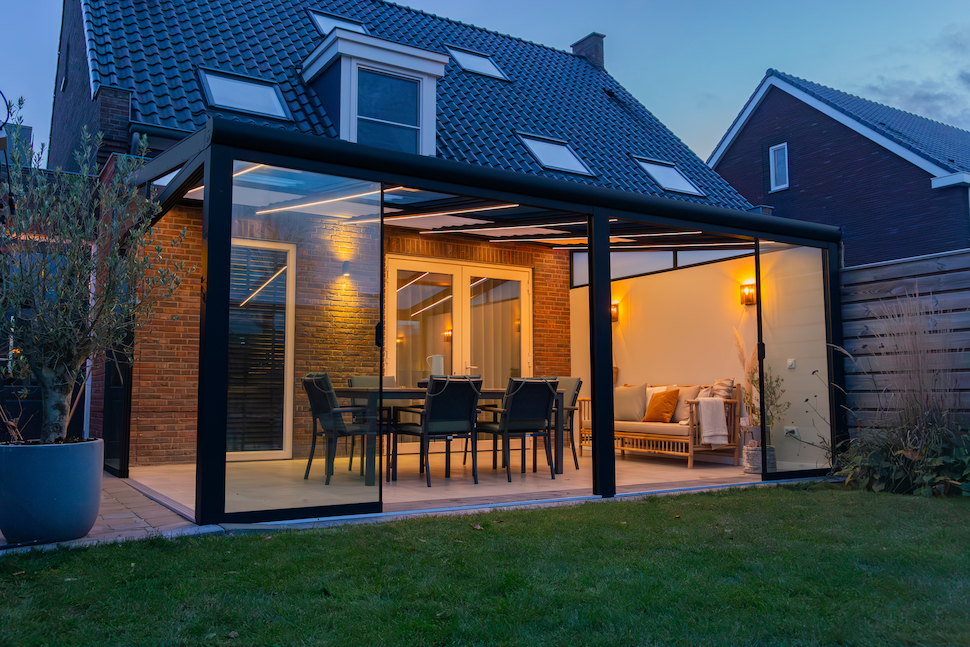
Making your own veranda is easier than you think. Nowadays, there are plenty of handy resources such as user-friendly kits, how-to videos and clear assembly manuals. The result: enjoying a veranda you built yourself. What more could you want? In this article, we will tell you all about the convenience of making your own veranda, the materials you need for it and the steps to follow.

The convenience of making your own veranda
What are the advantages of rolling up your own sleeves to build a veranda? We have listed the main benefits:
- You save money: making a veranda yourself is generally cheaper than hiring a professional. You will save on labour costs and if you buy smart, you will also save on material costs. At Tuinmaximaal, you can get a construction kit for an aluminium veranda for as little as £ 849. Read more about veranda prices.
- You have a customised veranda: when you build your outdoor space yourself, you have control over the design, size and placement. Decide on the ideal veranda according to your needs, space and style preferences.
- You are flexible: you have the freedom to adapt the construction process to your own schedule and pace. Execute the project in parts or complete it all at once, depending on the time and resources available.
- It is a valuable experience: you will learn new skills and gain experience with different aspects of building a veranda. Valuable knowledge for possible future projects in the home and garden.
- You are extra proud: of course, you are extra proud of the final result when you make the veranda yourself. A sense of accomplishment.
Making your own veranda vs. Outsourcing
What are the differences between making a veranda yourself and outsourcing it to professionals? What are the benefits of both options? In the table below, we make a comparison:
| Benefits | Making it yourself | Outsourcing |
| Cost savings | No labour costs and savings on materials. | Higher labour costs and possibly higher material costs |
| Expertise | You rely on your own knowledge and the user-friendly assembly instructions and videos. | You benefit from the professional knowledge & experience of construction experts. |
| Convenience | May take a little more time. Depending on your skills and available time. | You don't have to worry about the construction process. |
| Warranty | Tuinmaximaal offers a warranty if you follow the steps in the assembly instructions. | Professionals also usually offer a warranty on their work. |
| Flexibility | Decide when and at what pace you assemble the veranda. | You are dependent on the planning of the professional(s) |
| Pride and satisfaction | It provides satisfaction and a sense of pride. | You are less directly involved in the construction process. |
Building a veranda: this is what you need
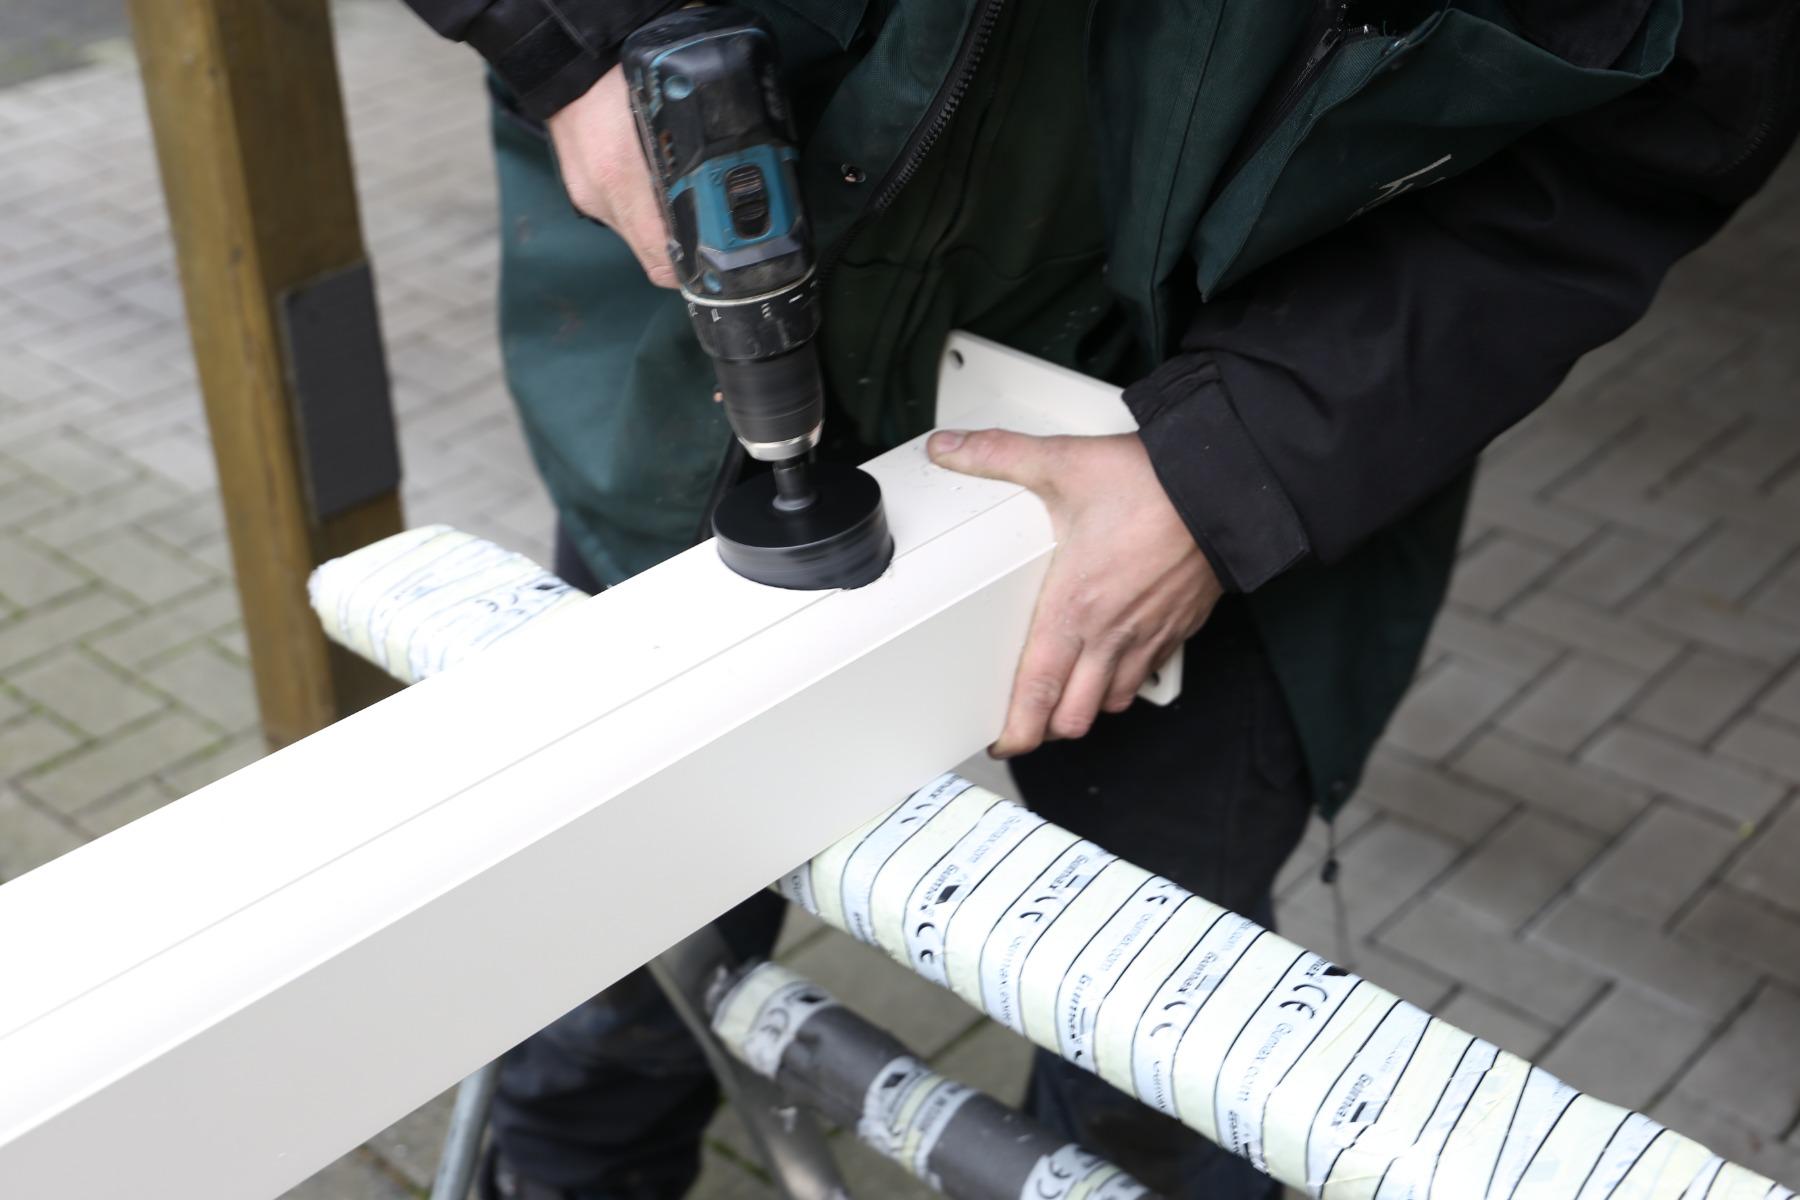
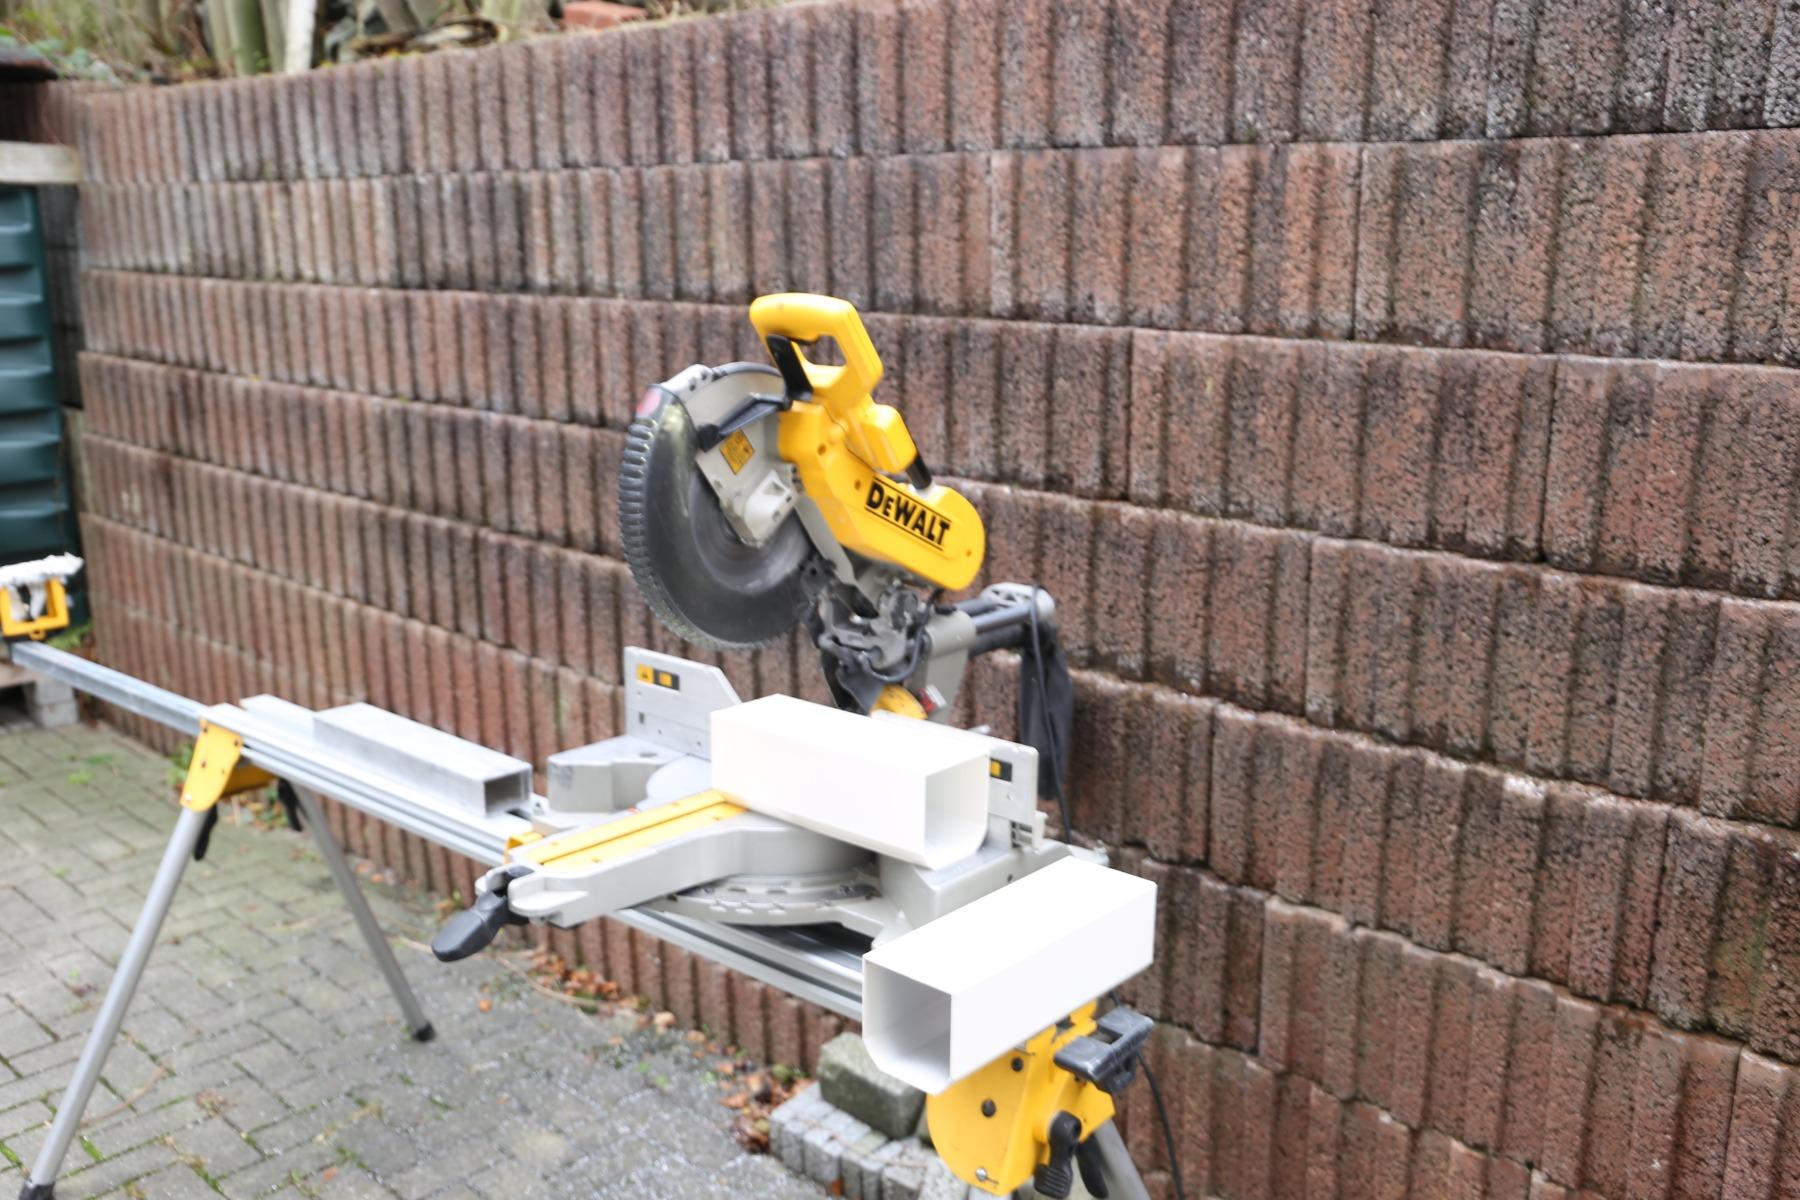
Are you going to build the veranda yourself? Just make sure you are well prepared and have the right tools and materials at your disposal. Using the following tools will help you achieve the best results:
- Cordless drill
- Impact drill
- Crosscut saw
- Circular saw
- Materials and glass lift
- Grinder
- Suction cups


Read more about the different tools and application in the materials list (PDF).
The contents of the self-assembly kit
If you choose to build your own Gumax® aluminium veranda, you will receive a complete construction kit, including:
- support structures
- intermediate beams
- side beams
- gutter package including decorative trim and wall profile
- metal strip
- roof panels (glass or polycarbonate)
- the necessary fixing materials
- matching bit and chucks
Would you like to close off the veranda with glass sliding doors? Then you will receive a package with:
- Glass sliding doors
- The bottom rail, overhead rail and glass profiles
- Optional: door handles, weather strips, decorative strips and U-profiles
With the help of these parts, the assembly instructions and the assembly video, making the veranda yourself is possible step by step.
Tip: Would you also like to enjoy shade under your veranda? We offer easy-to-install sun shading solutions. Remote controllable by individual lane.
Make your own veranda in 3 steps
1. Measurements
Determine the dimensions of the veranda. How wide and how high should the veranda be? Read the article on the maximum height of a veranda and use the measurement tool.
2. Making the right preparations
Make sure you have the right materials and tools for making the veranda yourself. Don't have the right tools? Then use a rental company. Also read the 8 tips for preparing to assemble your veranda.
3. Assembling the veranda
Watch the installation video and use the assembly instructions and assemble the veranda step by step.
As you can see, a DIY veranda has many advantages. Using the right tools, the necessary parts in the kit and by following the steps, you will easily assemble your veranda yourself. A low-cost veranda you'll be extra proud of.
Want more information? See the page about assembling a veranda


