Are you going to assemble your veranda yourself? We list eight handy tips to properly prepare your assembly job.
1. Give yourself space
A good start is half the battle. Therefore, make sure your workspace is free of obstacles. For example, if a drainpipe, lamp or flower box is still hanging on the wall, remove these objects. Also clear the entire terrace so nothing gets in your way.
2. The right tools
Achieve the best results with the right tools. Rent or buy the necessary materials in advance. We have listed all the tools you need to assemble professionally.
3. Make sure the wall is smooth
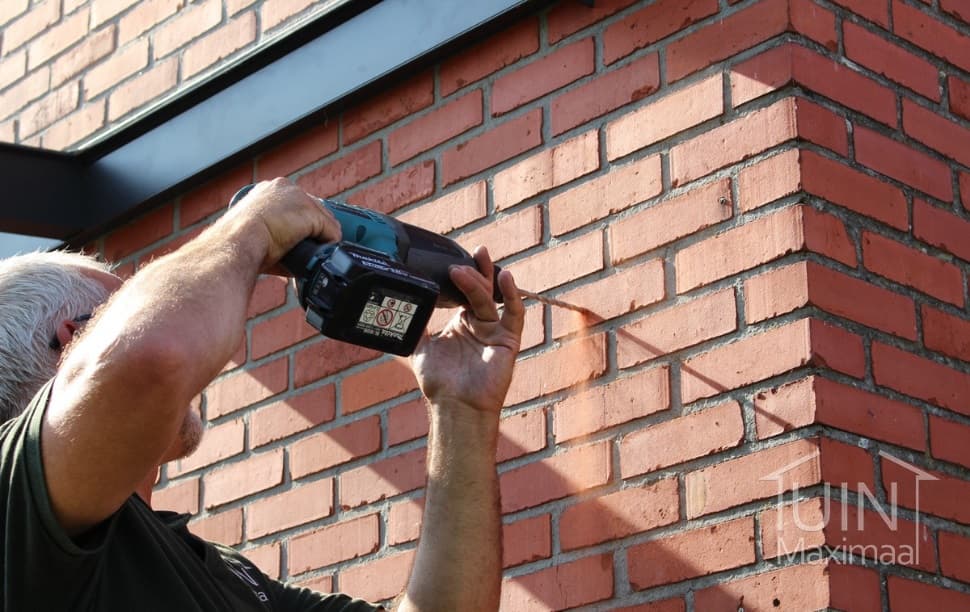
Does your wall stagger slightly forward or backward? Then make the wall completely smooth so that the wall profile of the veranda can be mounted against it. Make sure the wall is at least sturdy enough to support the weight of the veranda. A veranda is attached with impact plugs every 50 cm, each of which must be able to support a weight of 100 kg. The background should also be able to carry this. The space required on the wall for mounting should be at least 4 cm wider than the veranda, at least 17.5 cm high and 7.5 cm thick.
4. Take into account the slope of the terrace
Does your terrace slope down a bit? The sloped part of the terrace should not be too large, as the entire structure must be mounted level. For a veranda with a depth of 2.5 and 3 metres, use a maximum slope of 1cm and for a veranda with a depth of 3.5 and 4 metres, a maximum slope of 1.5cm.
5. Smart planning
Is your whole garden going to be overhauled? We recommend laying new terrace tiles only after you have installed the veranda. That allows you to nicely align the tiles with the support structures.

6. Ensure a solid foundation
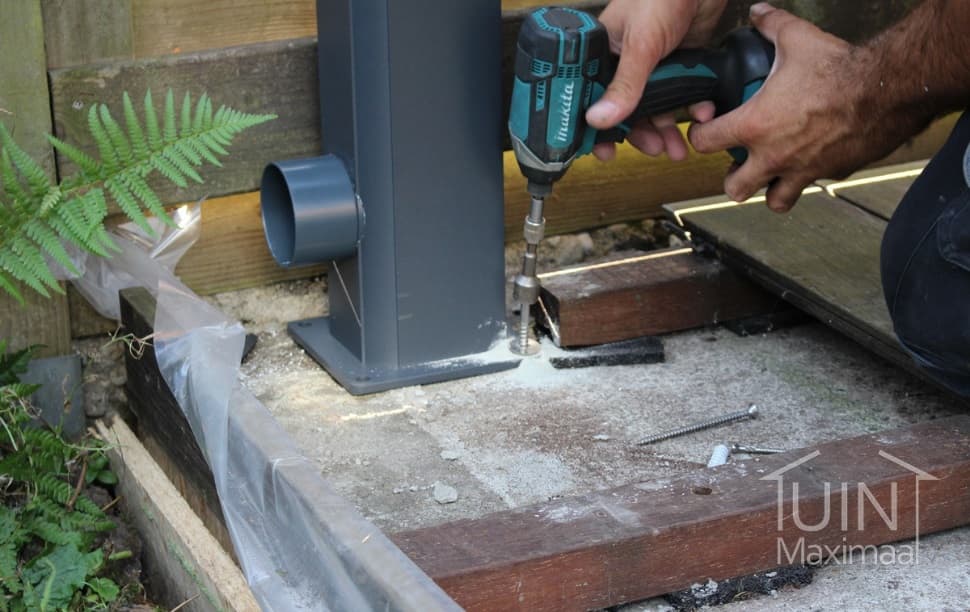
With spot foundations, you can be sure of a solid foundation. Didn't order a foundation with your veranda? Then make sure the existing foundation can support at least 750 kg per support structure.
7. Sufficient manpower
Drum up a DIY buddy to assemble the veranda with. This is because every veranda contains several heavy and large components. You therefore need at least four (right) hands to put up a sturdy construction and work safely.
8. The final step
The construction kit is ready and your hands are itching; you want to get started! Before you get started, we'd still like to give you one last tip: read through the included assembly instructions. If you follow all the steps calmly, you will have a flawless start.
Tip! Take a look at the installation video to see how the installation of the Gumax® veranda works.


